Apple TV Hack Redux
 Although I have heard good things about Apple’s new AppleTV, I have yet to buy one for myself.
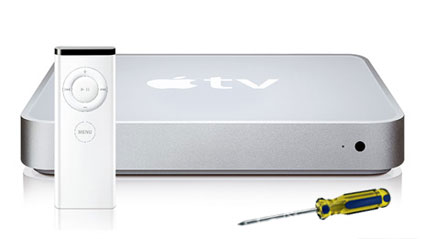
The reason for this is simple. I have a first-generation AppleTV and still find it to be quite functional. In fact, I prefer to have the luxury of built-in storage. Sometimes I prefer to turn on my TV and just start listening to my music library or watch from my movie library without having to get up and go turn on another streaming device.
The latest AppleTV OS (3.02) is still hackable with the ATVUSB-creator patchstick (version 1.0.b13). This patchstick can be created with both the OS X and Windows platforms. But there are a few things you should know if you plan to hack your first generation AppleTV.
Preparing Your AppleTV
If you have an un-hacked AppleTV, then you need to make sure that you first update your OS to version 3.02 using the Update Software under the General Settings menu.
If you’ve previously hacked your AppleTV, the best advice I can give you is to do a factory reset, then update to version 3.02. I have had nothing but problems when trying to apply this hack on top of a previous hack, and found that I’ve avoided wasted time and grief by simply resetting, updating to version 3.02, and then applying this hack. ( NOTE: THIS WILL DELETE ALL YOUR EXISTING DATA – MUSIC, MOVIES, ETC. – ON YOUR APPLETV. BE SURE TO BACKUP YOUR EXISTING DATA BEFORE DOING THIS FACTORY RESET! )
At this point, you should be starting with an un-hacked AppleTV at version 3.02 of the operating system.
Creating The Patchstick
To create the patchstick, you’ll need a flashdrive that is no smaller than 512MB. This process will completely wipe clean the flashdrive, so be sure that you first backup any desired data on the drive.
Follow these steps:
- Download the ATVUSB creator files (Mac OSX (intel/ppc) version of atvusb-creator; Windows (XP/Vista) version of atvusb-creator)
- Plug your flashdrive into a USB port on your computer.
- Unzip the file and double-click the atvusb-creator file. You should see this window with these settings:

The atvusb-creator settings window
IMPORTANT: Make sure the USB Target Device is pointing to your flashdrive!
- Click on the Create Using -> button
This process can take up to 10 minutes, depending on the speed of your flashdrive.
The progress screen will indicate completion.
- That’s it. Now you’re ready to bring this patchstick to your AppleTV!
Applying The Patchstick To Your AppleTV
Unplug the power to your AppleTV and insert the patchstick into the USB port. Then, plug in the power to your AppleTV.
You will see an unusual icon:

And then, a long series of text will scroll by. This process usually takes about a minute or two. Once the text stops scrolling for longer than 20 seconds or so, the hack has been completed.
Pull the patchstick out and unplug the power to the AppleTV.
Now plug in the power and let your AppleTV go through the start up process. If the patch has been successful, you should note the addition of two menu items in the navigation: Software Menu and Launcher.

Note the addition of Software Menu (left) and Launcher.
In a future post, I will go over some of the new capability created by this hack. For now, go forth and explore!